How to Hang Roman Shades Perfectly
Roman shades have become a quintessential window treatment, blending elegance with functionality in modern home decor. For every interior design, these adaptable window coverings have an amazing range of materials, patterns, and designs. Roman shades provide a sophisticated answer that turns regular windows into design statements, whether your preferred soft, light-filtering linens or blackout fabrics for maximum privacy. Achieving that clean, professional look that accentuates your area depends on the correct installation.
Tools You'll Need for Roman Shades Installation
Preparing the correct equipment guarantees a flawless Roman shade installation. The following is a thorough list of what you will require:
- Metal Tape Measure
- Pencil
- Drill
- Screwdriver
Step-by-Step Guide to Hanging Roman Shades
Step 1: Decide on Mounting Type
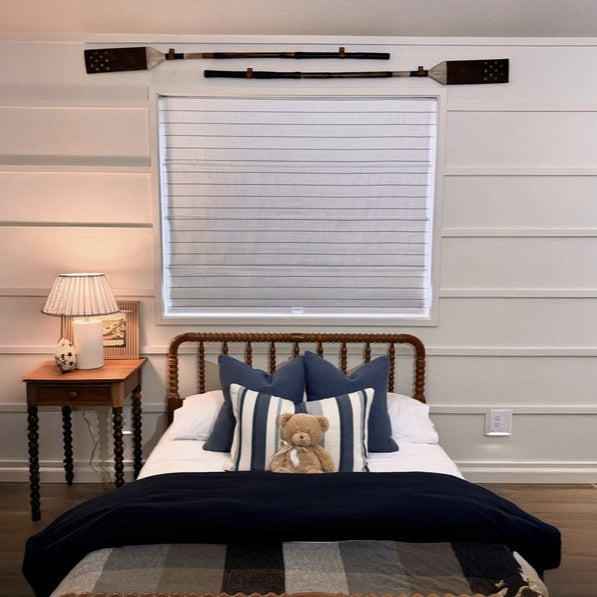
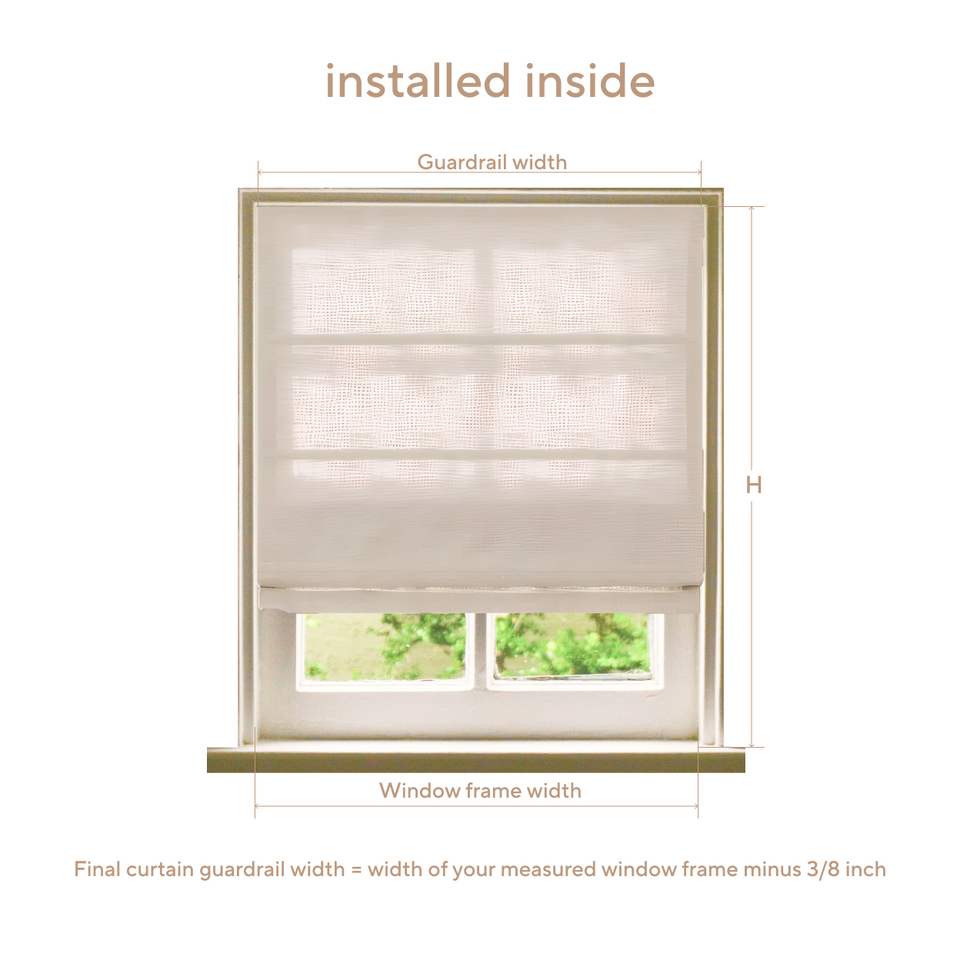
- Inside Mount: Ideal if your windows have adequate depth and you want a clean, integrated look. It showcases window trim and works well with modern window designs.
- Outside Mount: Best for shallow or irregularly shaped windows or if you need maximum light blockage and privacy. This mount can also make windows appear larger.
Step 2: Precise Measurement Techniques
For Inside Mount:
- Depth: Ensure there's enough space at the top of the window casing for a secure fit. Check specific depth requirements for your Roman shades to see if a flush mount is possible.
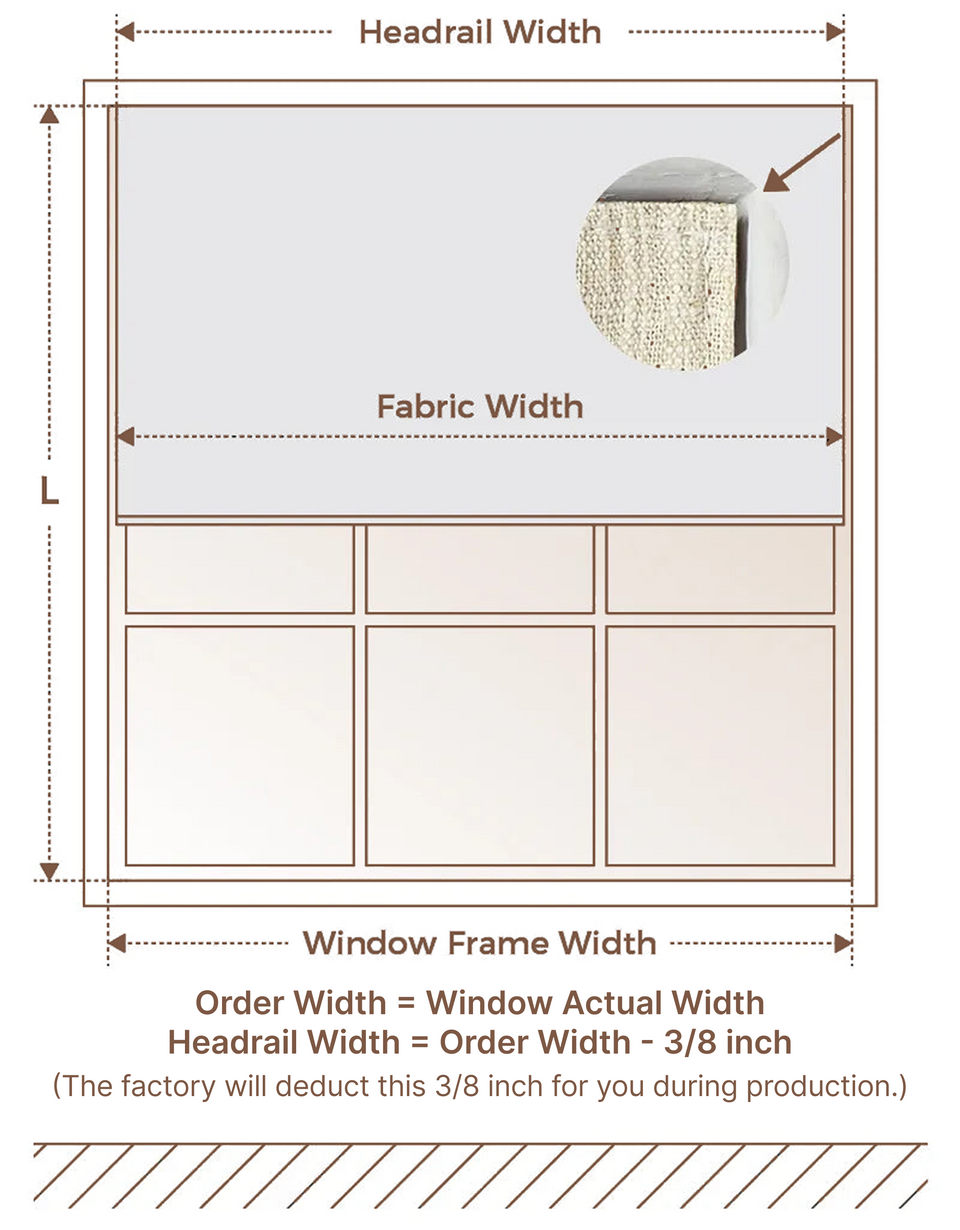
- Width: Measure across the top, middle, and bottom of the window. Use the smallest measurement and round down to the nearest 1/8 inch. Remember that a deduction (commonly 3/8 inch) is usually taken from this width for the headrail.
- Length: Measure vertically on the left, center, and right sides. Use the largest measurement, rounding up to the nearest 1/8 inch.
- Side Gaps: Be aware of slight gaps on both sides as the fabric width is less than the headrail width to allow smooth operation.
For Outside Mount:
- Check the Space Above: Ensure there’s enough room above the window for the brackets and headrail, ideally at least 2 inches.
- Measure the Width: Measure the full width you want to cover, adding 2-4 inches on each side to minimize light leakage and ensure privacy.
- Measure the Length: Determine the height from where the headrail will be mounted (10-12 inches above the window if possible) to the desired bottom edge.
- Allow Extra Space: Particularly if you are covering trim or aiming for total light control, include extra width in your specifications to allow for the headrail and brackets.
Step 3: Identify Mounting Points
Make sure the window frame is robust enough for drilling in an inside mount. For an outside mount, check for a flat mounting surface.
Use a stud finder to locate studs or determine the appropriate wall anchors if necessary.
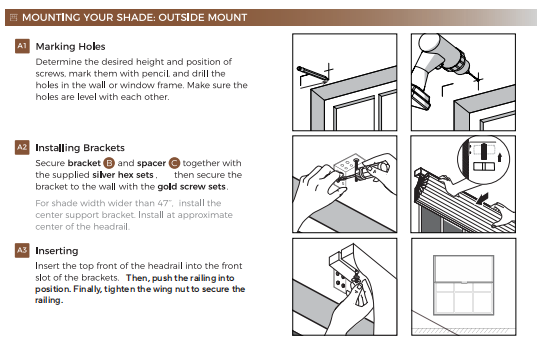
Step 4: Bracket Positioning
Make sure brackets line up correctly with a level. Symmetric installation can be accomplished with temporary templates.
To avoid harming walls or splitting wood, drill pilot holes somewhat smaller than your screws.
Step 5: Install the Shades
Attach the headrail to the brackets, ensuring a secure fit. For heavier shades, use multiple brackets for added support.
Step 6: Fine-Tuning and Adjustment
Operate the shades numerous times to find smooth alignment and movement. For even hanging, make any required bracket adjustments.
Step 7: Final Inspection
Check that everything is functioning as it should and firmly installed. To make sure the shades do not catch or snag, test them over their whole range of motion.

Benefits of Roman Shades
Provide Aesthetic Versatility
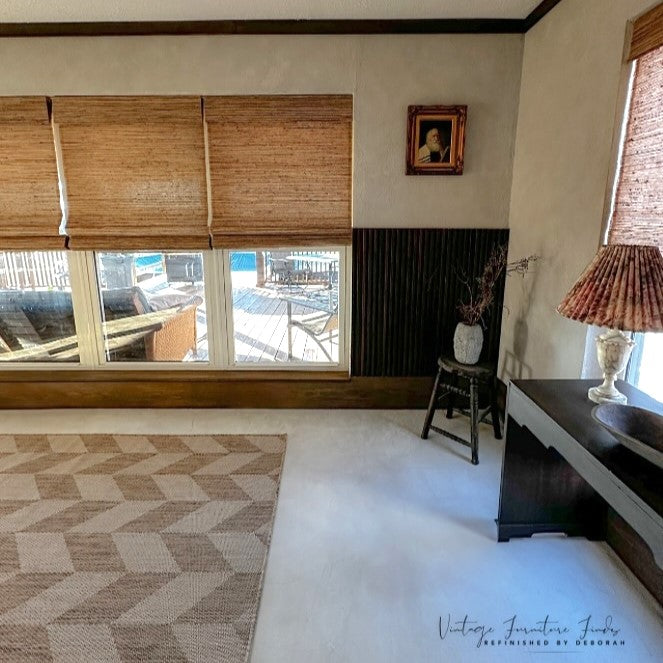
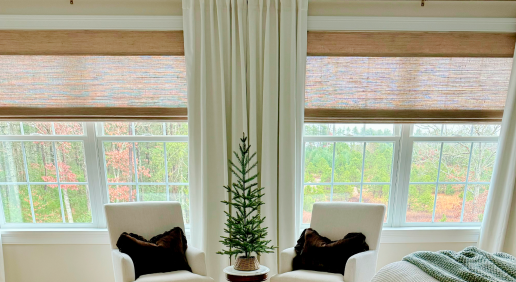
Roman shades are design statements, not only window coverings. Found in several textiles, from delicate silk to strong performance materials, they fit any room style. Picture a powerful study highlighted by rich, textured blackout Roman blinds or a minimalist living room softened by neutral linen tones.
Manage Light
Beyond basic light filtering, modern Roman shades offer nuanced light control. Sheer fabrics create a soft, ethereal glow, while blackout options provide complete darkness. Some advanced designs feature adjustable opacity, allowing precise light manipulation throughout the day.
Improve Energy Efficiency
Roman shades act as an additional insulation layer. Thermal-backed fabrics can reduce heat transfer by up to 40%, potentially lowering energy costs. In summer, they block solar heat; in winter, they retain interior warmth. Custom Roman shades can be tailored with specialized thermal linings for maximum efficiency.
Get Acoustic Comfort
Thicker fabric Roman shades serve as effective sound barriers. In urban environments or homes near busy streets, they can reduce external noise, potentially lowering it by up to half, creating a more peaceful indoor environment.

Optimize Space
Unlike bulky curtains, Roman shades fold compactly when raised, preserving window views and room aesthetics. Their slim profile makes them ideal for smaller spaces or minimalist design schemes.
How to Choose the Right Roman Shades
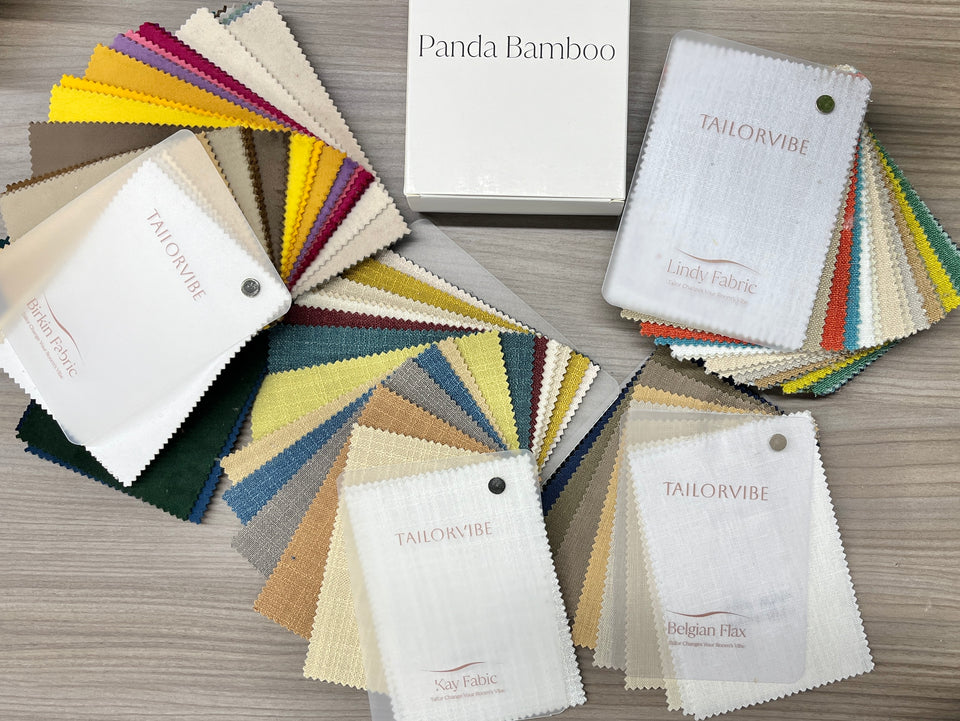
Fabric Selection Strategies
- Natural fibers: Linen and cotton for breathable, casual spaces
- Synthetic performance fabrics for high-moisture areas
- Silk and velvet for formal, luxurious settings
- Consider fabric weight, light-filtering properties, and durability
Mounting Considerations
- Inside mount: Showcases window architecture
- Outside mount: Creates the illusion of larger windows
- Ceiling-mounted: Modern, seamless appearance
- Evaluate window depth, trim, and architectural style
Operational Mechanism
- Cordless systems: Ultimate child and pet safety
- Motorized options: Smart home integration
- Traditional cord mechanisms: Budget-friendly
- Consider room usage and technological preferences
Color Psychology and Design Integration
- Neutral tones: Timeless, adaptable
- Bold patterns: Focal point and artistic statement
- Color temperature affects room perception
- Consider existing color palette and lighting conditions

Professional Installation vs. DIY: Which to Choose for Roman Shades
Professional Installation Advantages
- Guaranteed precision measurements
- Expert handling of complex window configurations
- Comprehensive warranty coverage
- Access to trade-exclusive materials
- Professional assessment of unique architectural challenges
DIY Installation Benefits
- Significant cost savings (50-70% cheaper)
- Personal customization opportunities
- Flexible scheduling
- Sense of accomplishment
- Direct control over every installation detail
Enjoy Your Flawless Roman Shades
With meticulous selection and precise installation, your Roman shades will elevate your living space's aesthetic and functionality. Patience and attention to detail transform a simple window treatment into a design masterpiece. Whether you choose professional installation or embrace the DIY challenge, your perfectly hung Roman shades await—ready to add style, comfort, and refined elegance to your home.


